Installing Base Cabinets Explained
Your home is the safest place, the most comfortable place in the whole wide world. With that said, a home isn’t a home in our opinion if the kitchen is not furnished in the best manner. Not just aesthetically unappealing, but such a kitchen is also bound to offer you less functionality and more clutter.
If you want to ensure that you can carry out those 10-minute recipes you keep binging on, your kitchen must be equipped with the required materials and suitable cabinets and drawers.
Here are some tips for going about the installation process.
Installing Base Cabinets
When it comes to placement base cabinets, the most innovative way to go about it is by looking for the most appropriate place. Base cabinets should be placed on the spot that is the high point on your entire floor. If the flooring is uneven, you will forever be annoyed at how unevenly your cabinets are placed. Moreover, their crookedness will agitate you too.
Look for the highest point on your kitchen floor. Next, take chalk and draw a level line along the wall that is adjacent. Moving on, now you need to get to measuring. The area with the least distance on the floor will be the highest point. This is where your base cabinets will go.
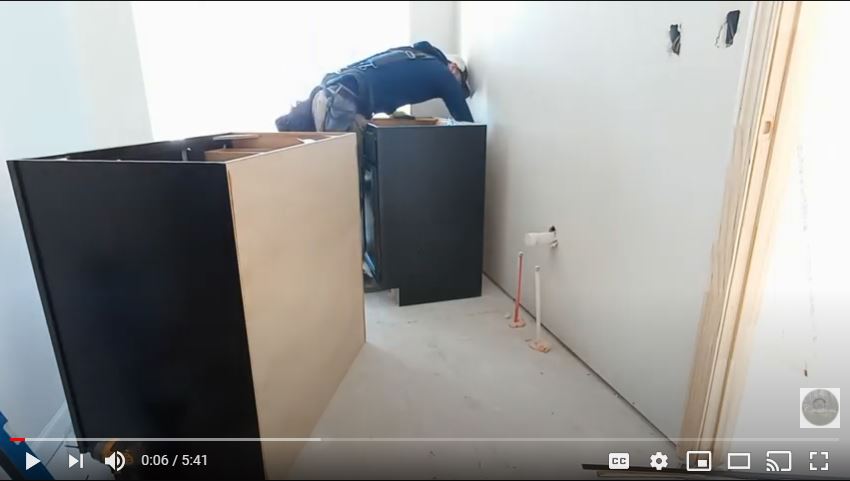
1. Beginning the Placements
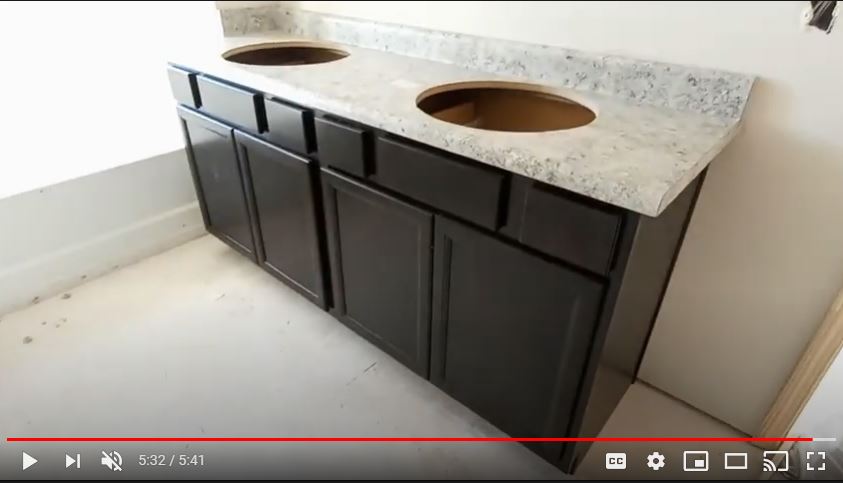
When installing kitchen base cabinets, you need to start right from the corner, if there is one. If there is no corner or edge, then you can simply start with any of the two ends. The placement is pretty simple; you have to start by placing them right against the kitchen wall where you wish to get them installed.
Next comes the addition of the shims. Add them under the cabinetry. This must be done so that the highest edge comes in contact with the first horizontal line you drew on the floor.

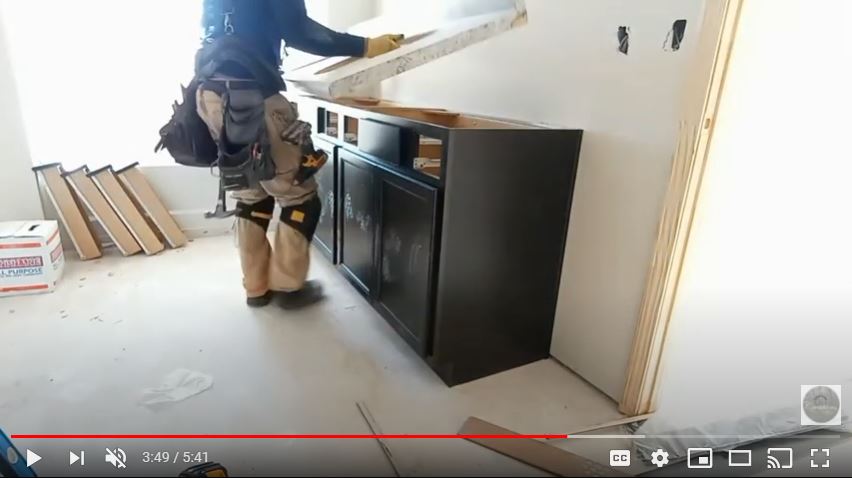
2. Lining Up the Rest
Once you have successfully placed your first initial cabinet, you can then carry on with the next. These placements will not be as complicated or calculated as the first since all you would have to do is follow your lead. While going about the arrangements, make sure that you were shimming wherever there is a need for it.
Often, homeowners carrying out DIY projects of installation their cabinets tend to find spaces between each. As a result, the entire look of the kitchen appears to be tacky and unprofessional. To make sure that the fit between the two is perfect, you can use a clamp. Once the clamping is done, you can then move on to the drilling work. Attach the base cabinets strictly with the help of screws so that they don’t budge out of their place.
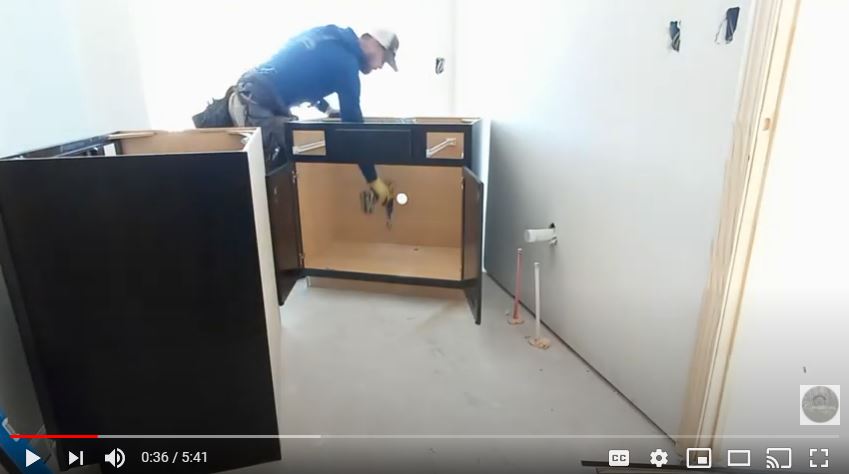
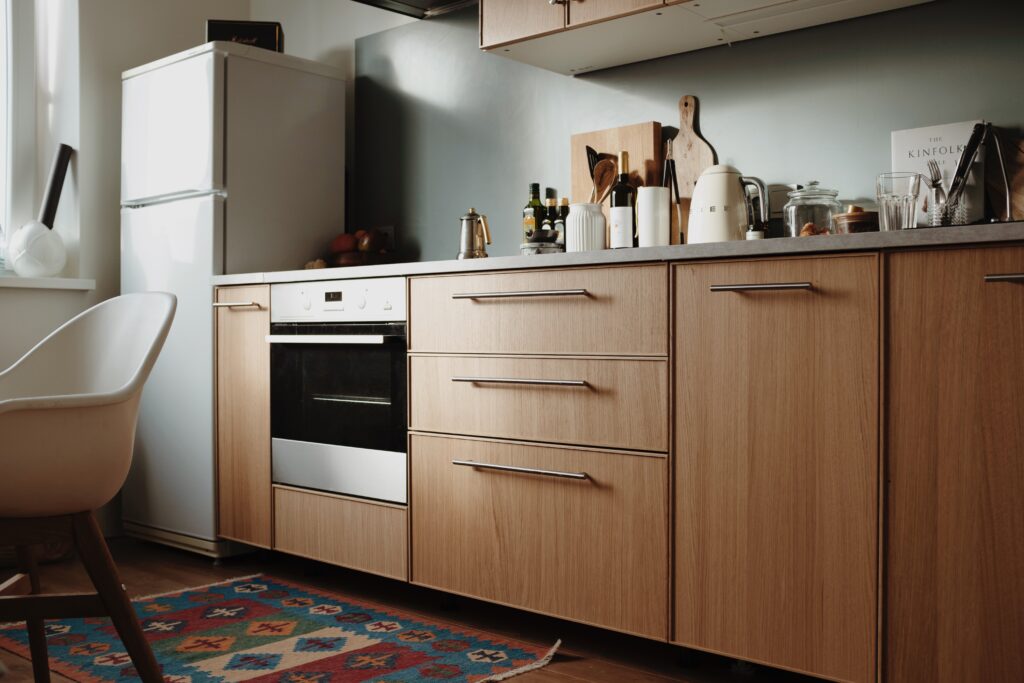
3. Adding Doors and Drawers
The base kitchen cabinets have successfully been installed, maybe a bit wonky here and there, but that’s okay. If you wish for a professional look, you can contact Modern Carpentry Projects to get the woodwork done quickly and perfectly for you.
This is the part where you proceed with the finishing touches of the base kitchen cabinets. There is only a tad bit of woodwork left here. Of course, the base cabinet is a hollow square, and one would have to add in the doors and the drawers separately. You can attach the doors and set the drawers on the tracks given, and you’ll be good to go.
What To Keep in Mind While Installing Kitchen Base Cabinets?

1. Repair Work
Before you get to the grunt work of initiating your woodwork, you need to ensure that all the repair work in the kitchen has been completed. The repair work is usually related to the damage to the walls. All these walls will be hidden once your cabinets are installed. Hence, if there is any damage out there, you will not be able to repair it any time soon.
Ensure that all the repair work, from damages to the walls to the electrical and plumbing work, is completed before starting the base cabinets’ woodwork.
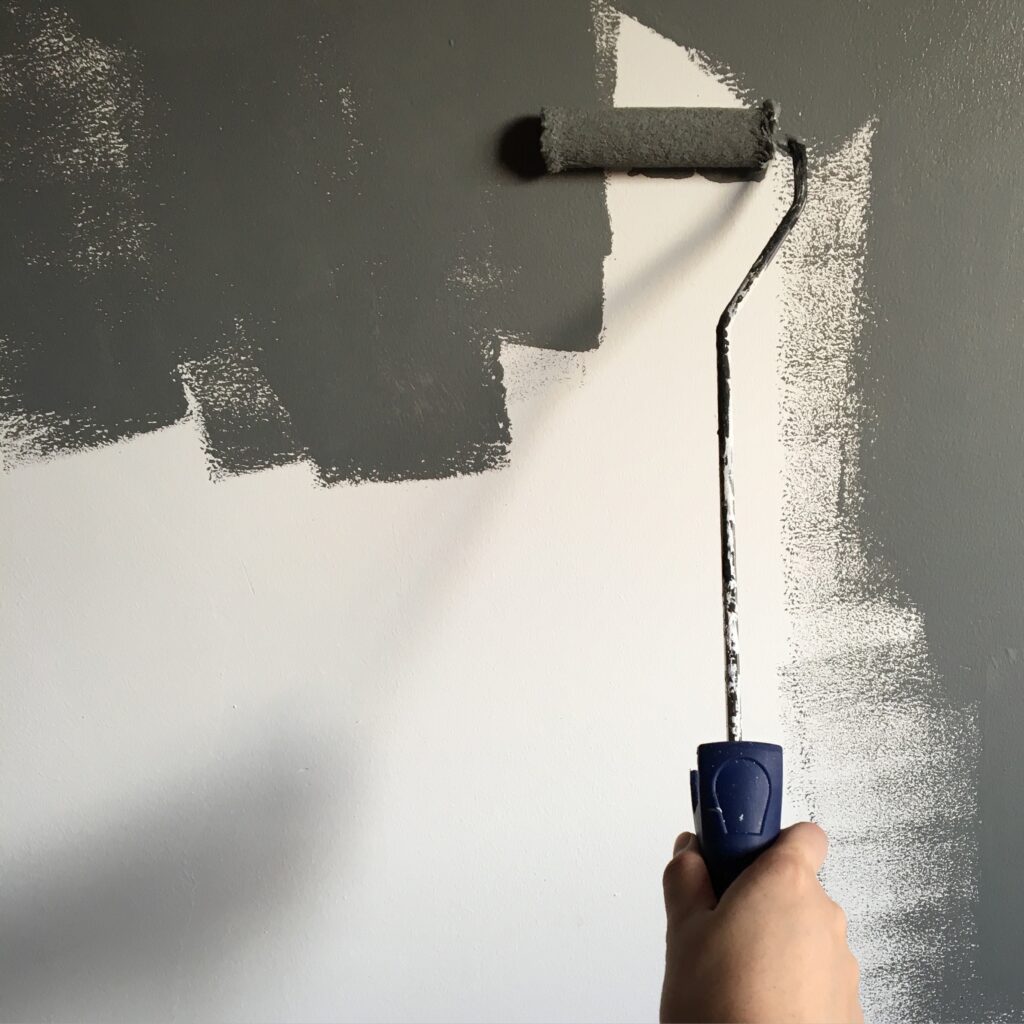
2. Painting of the Cabinets
Once you have completed installing your base cabinets, you won the chance to paint or polish them from all the sides other than the one facing you. This is why when you are going through the repair process. It would be best if you also kept paint or polish your cabinets. Prior to installation, these cabinets can be pushed, moved, and revolved in any direction, and hence polishing or painting won’t be a hassle.
There are different options for making your base cabinets look more refined, such as a semi or even a high gloss finish that would bring a shine to the kitchen, making it look immaculate.
3. Snug Fitting of the Kitchen Base Cabinets
Kitchen base cabinets that have pipes or plumbing at the back will never stick correctly and fit snugly. This is why you need to take preventive measures for this as well. Start by looking at your kitchen plumbing sets and checking where there is a need for alternations. This will be in all the places where there are electrical boxes or pipes for plumbing.
Next, place your cabinets in the spot and check where they are coming in contact. Mark the locations and cut holes so that once you push the cabinets in their respective places, they fit snugly without protruding.

4. Hiring a Professional
Installing kitchen base cabinets requires precision and calculations that sometimes only a professional can work on. While DIY projects are fun, they can tend to be pretty exhausting. Contact us at Modern Carpentry Projects and have their experts handle all the grunt work for you. With the right tools and the required expertise, professionals can take the burden of woodwork off your shoulders.

With years of experience under their belt, you will be getting access to professional installation services. Ones that help upgrade your kitchen space through woodwork to provide the maximum amount of utility, functionality, and ease.