HOW TO BUILD A MAKEUP VANITY
Hello friends welcome to another exciting build, I am happy to share this project with you guy on a diy vanity unit that will be fun and easy to build. If this vanity is too big for your requierments feel free to check out my other simpler vanity here.
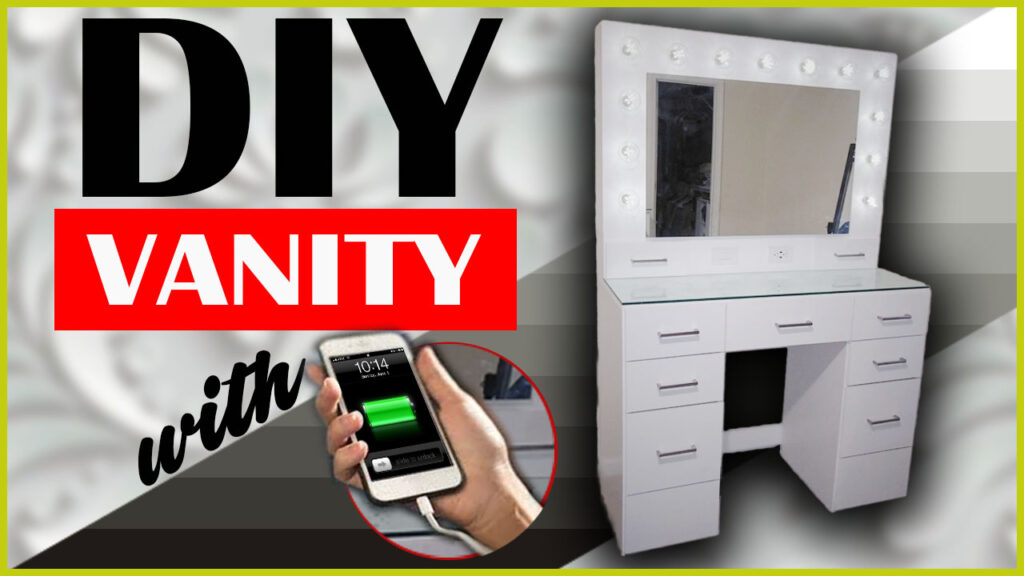
Diy Makeup vanity with lights step by step
1.Decide what kind of wood you want for your vanity.
First you need to decide what kind of finish you desire, if you would like a painted finish then you could getaway with using more inexpensive building material like mdf or other similiar supply. For a stained finish or maybe just a clear coat finish then you should really consider finer wood perferably hard woods like oak or maple, but you can get away with using maple plywood for structure and pine 1×4’s for all the exposed edges.
2. Choose a vanity design or style you like the most.
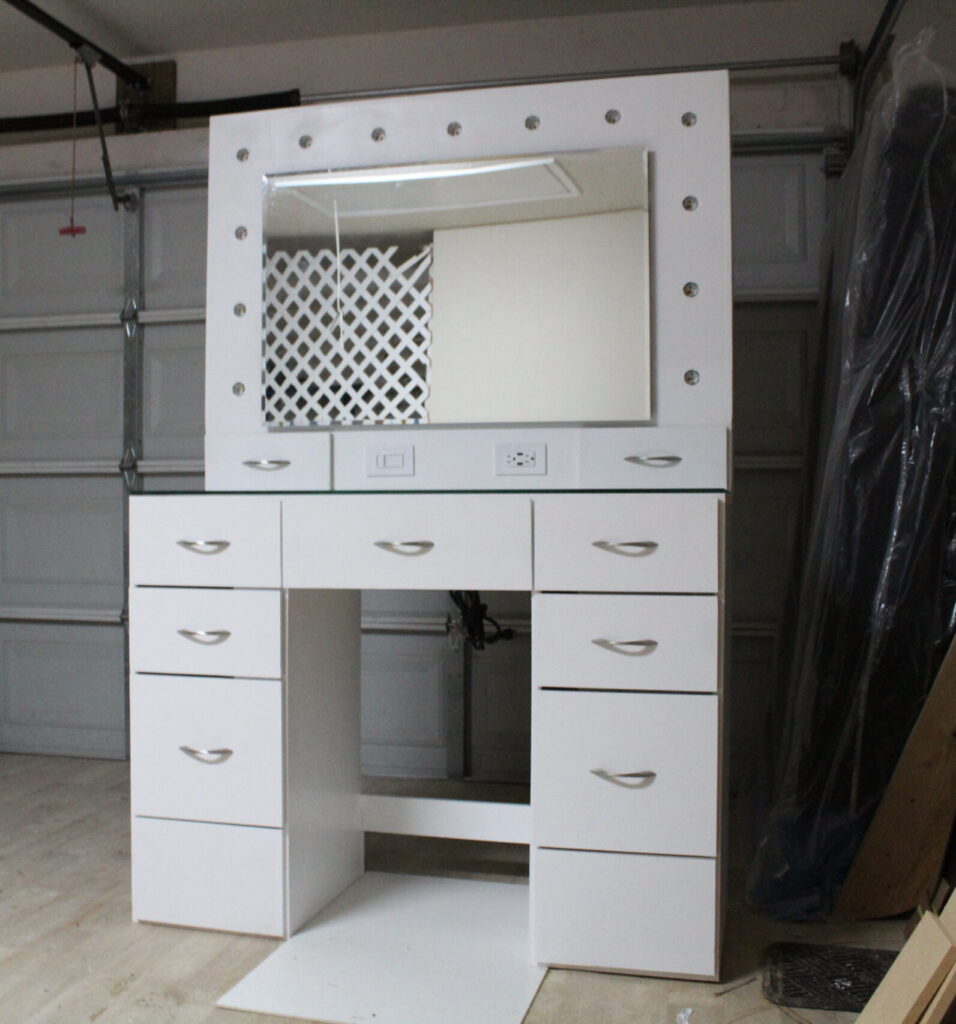
When it comes to vanities you have a variety of designs to choose from including the most most popular ones like the Hollywood Vanity with lights, Vintage Vanities, or even one of the several sleek designs that help save space in those tight areas around the home. Best of all in building wood projects from scratch you can you adapt any ideas together into one unique creation of your own.
3. Gather all the material required from the diy vanity unit cut list if provided.
Most blueprints will come with a cut list of all the wood and material that you can pre-cut so you have it ready for assembly in a much easier manner. If you do not have such a list no worries, you can start with the basic big frame pieces of your vanity or desk and begin from there.
4. Begin cutting all the wood and putting in place
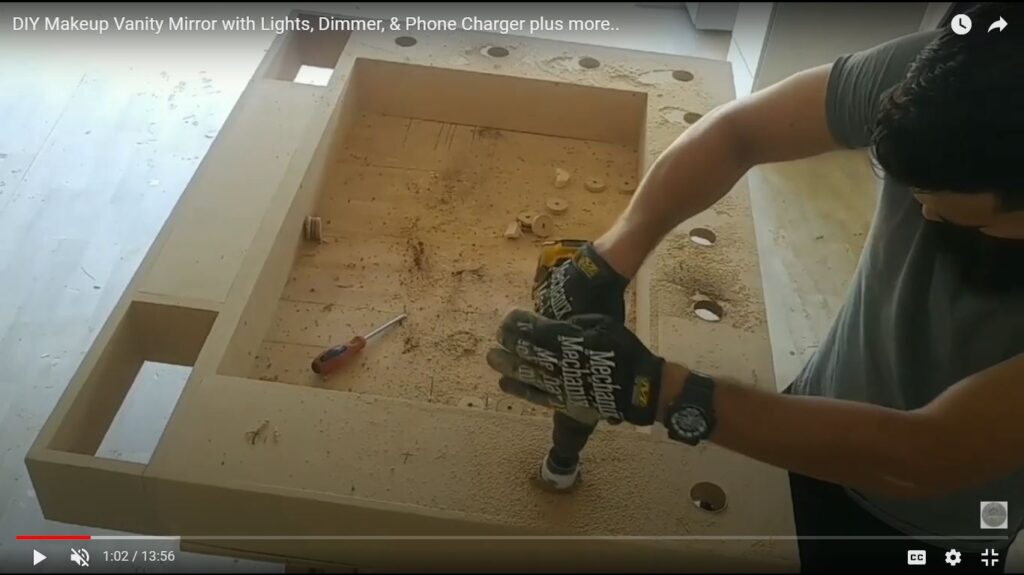
Once you have begun cutting all the wood pieces then the most satisfying moment is when you start nailing and screwing all the wood pieces together starting from the bottom-up or outside-in. Attention to detail is when this is most crucial as it is normal for wood joining to sometimes be off a 1/16th of an inch off especially when doing by hand. All the minor indifferences can always be enhanced to become more visual appealing.
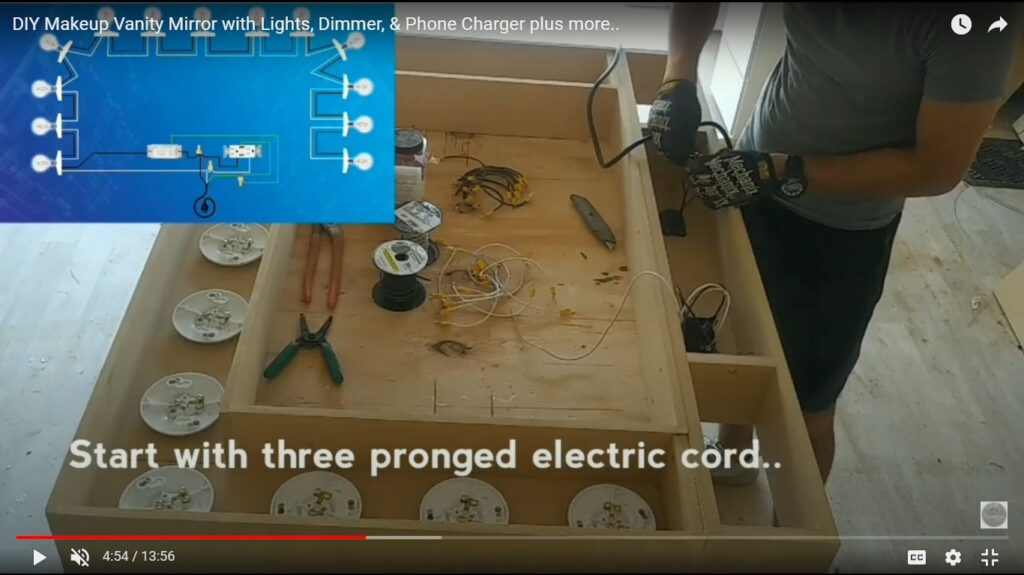
5. A safe way to connect wires for vanity lights
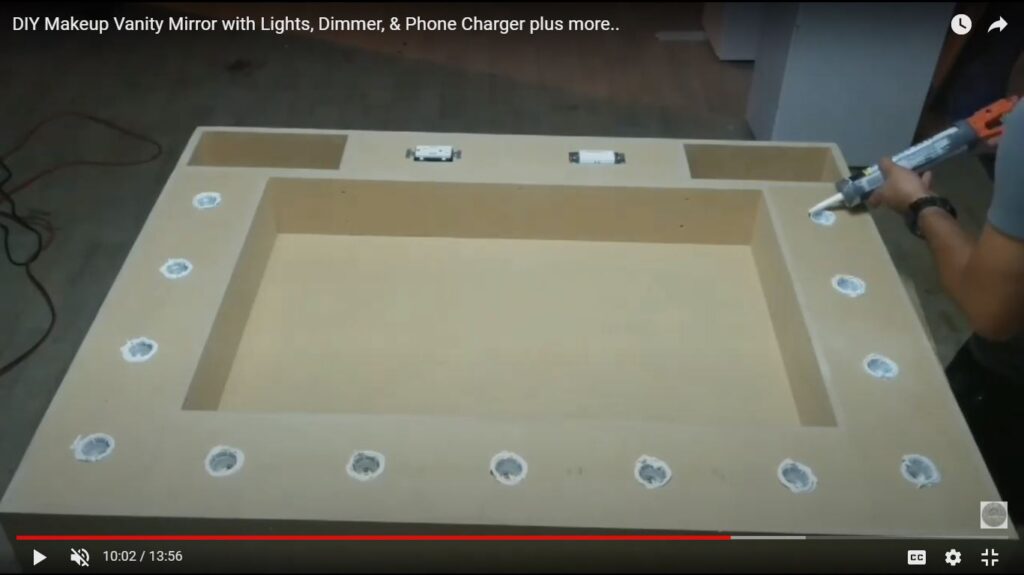
When hooking up the electrical wires for your hollywood vanity globe light bulbs it can be intimidating for anyone new to this, ( check out the diagram provided in this video link in acion ) but its honestly very straight forward as long as you follow the easy color coded wires and making sure you have strong firm connections. I always use romex wiring with this project in a 12/2 solid wire roll because it is super strong and its home building grade so chances are you can find it in your home walls too so be assured it will be safe. This youtube video demonstrates how to perform the electrical connections step by step.
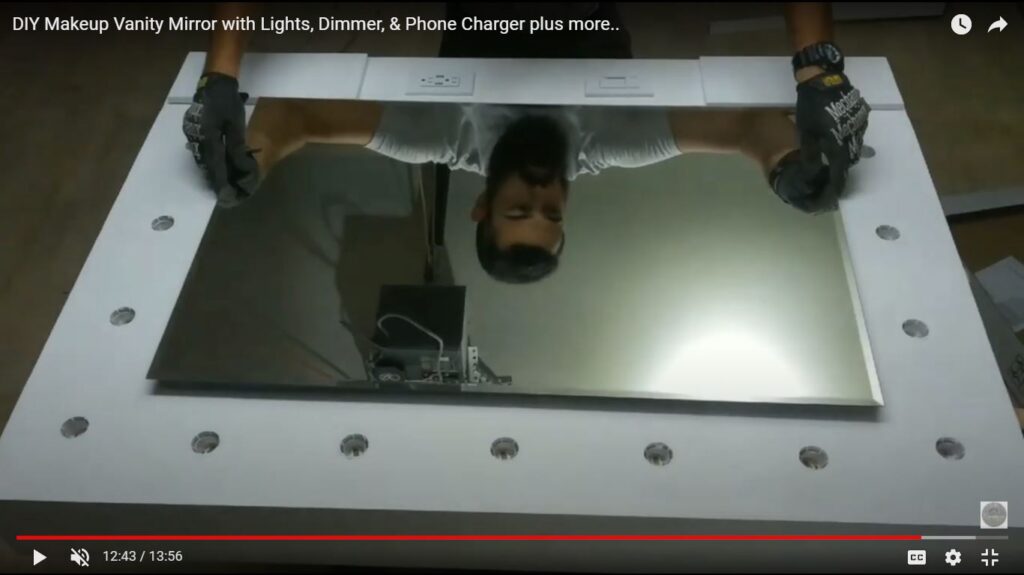
6. Paint or stain the vanity frame.
Now that you have your vanity mirror / desk built together with all the exposed backing covered up let’s go ahead and fill any gaps/ screw holes/ or nail heads with wood filler if you plan to stain or with a caulk or bondo sealant if you plant to sand and paint. Make sure to add a varnish or sealer at the end to make the color more durable and keep in mind the more layers you add the more of a glossy look you will achieve.
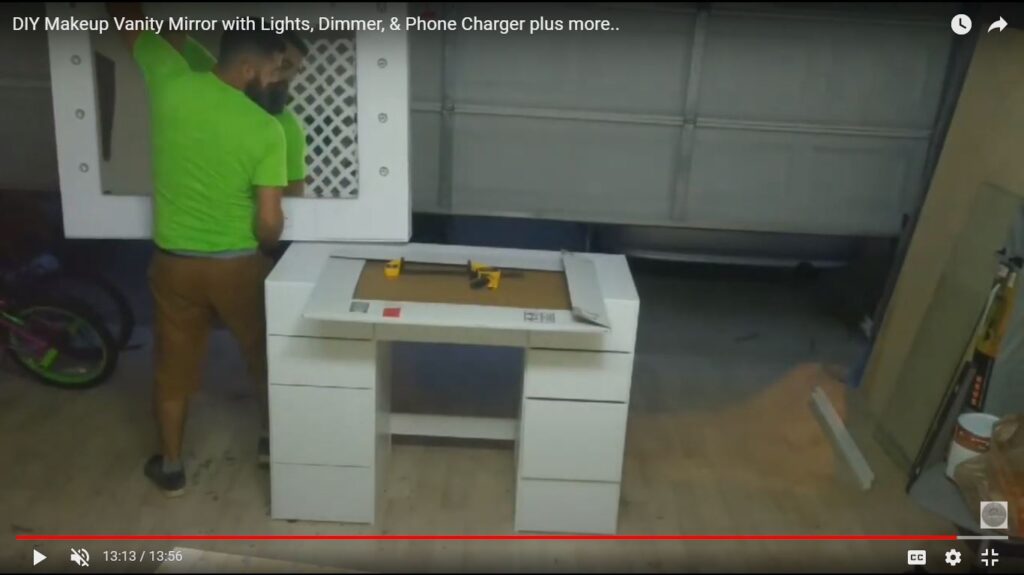
7. Finally glue the mirror to your vanity.
The final step of this project is to add the mirror and complete your vanity, all it requires is a special mirror adhesive that mostly comes in a tacky black substance, so spread it in circles or loops around corners and center then let it cure for a few hours. Now place your dream vanity in the room of your choice and we recommend using led globe bulbs for the best lighting results possible and begin snapping away the most beautiful photos to show off your masterpiece, Cheers!
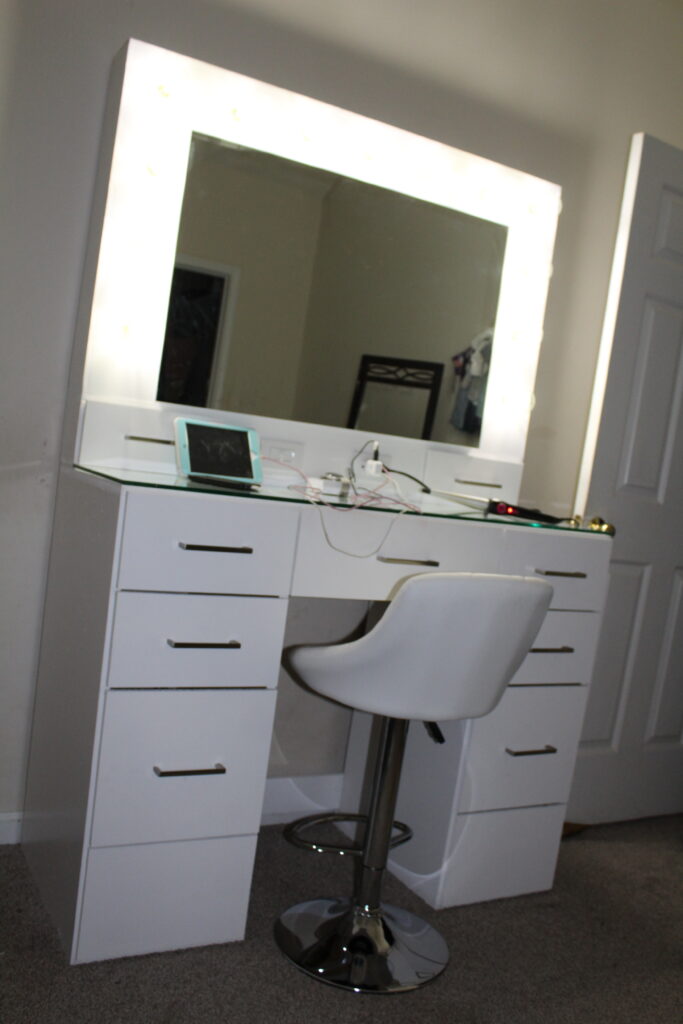
Watch the video here
https://youtu.be/9YbXGNOF-DY
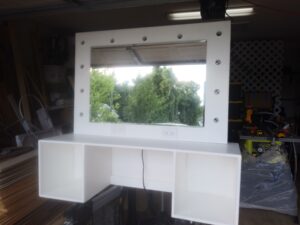
Hollywood Vanity Cut List Floating Desk Plans
Free PDF Download
Brought to you by:

Easy to build and cut template to make your very own vanity at home.
Receive via email


